In the previous post we took a first look at Emacs, including creating and editing a script file, and passing commands from the file to the shell terminal. At the end of that post, I recommended you check out the built-in tutorial (accessible via C-h t from within Emacs). In this post I assume you’ve done so, although I won’t expect you’ve understood everything you found there.
Orgmode
Last time, I promised a better way to integrate scripts, output, and notes in a single file. The better way is provided by orgmode, which comes bundled with Emacs. Orgmode evolved from a simple task-manager, to a full-fledged information management system, especially for people whose work includes computer code. This lesson will focus on getting started with orgmode, and using it to help explore some Illumina data (you don’t need to undertand Illumina data to follow along).
Objectives
- Create a new org file with:
- text notes
- Bash code blocks
- the results of executing the code blocks
Setting Up
First off, we need to create a new file. We do this from the menu “File - Visit New File” option. Name it gbs.org, and put it in the directory we created last time: ~/gbs-analysis.
Emacs will recognize this file as an org file, based on the .org suffix, and will turn on orgmode for us. The file is still a normal plain text file, but Emacs will look for special tags that identify which parts are code, what is a heading, which text to make bold etc.
We need to customize one of the orgmode options before we start. For security, by default orgmode won’t allow you to execute code in programming languages other than Emacs’ built-in language elisp. We need to add bash to the list of permitted languages, so we can use it for our scripts.
We can find the options in the menu “Org - Customize”. At first, there are only two options here. Select the “Expand this Menu” option, then open the “Org - Customize” menu again. Now you have a second menu item named “Customize”. This will lead you to a long list of options. We’ll ignore them, and pick the “Babel” option from up near the top:
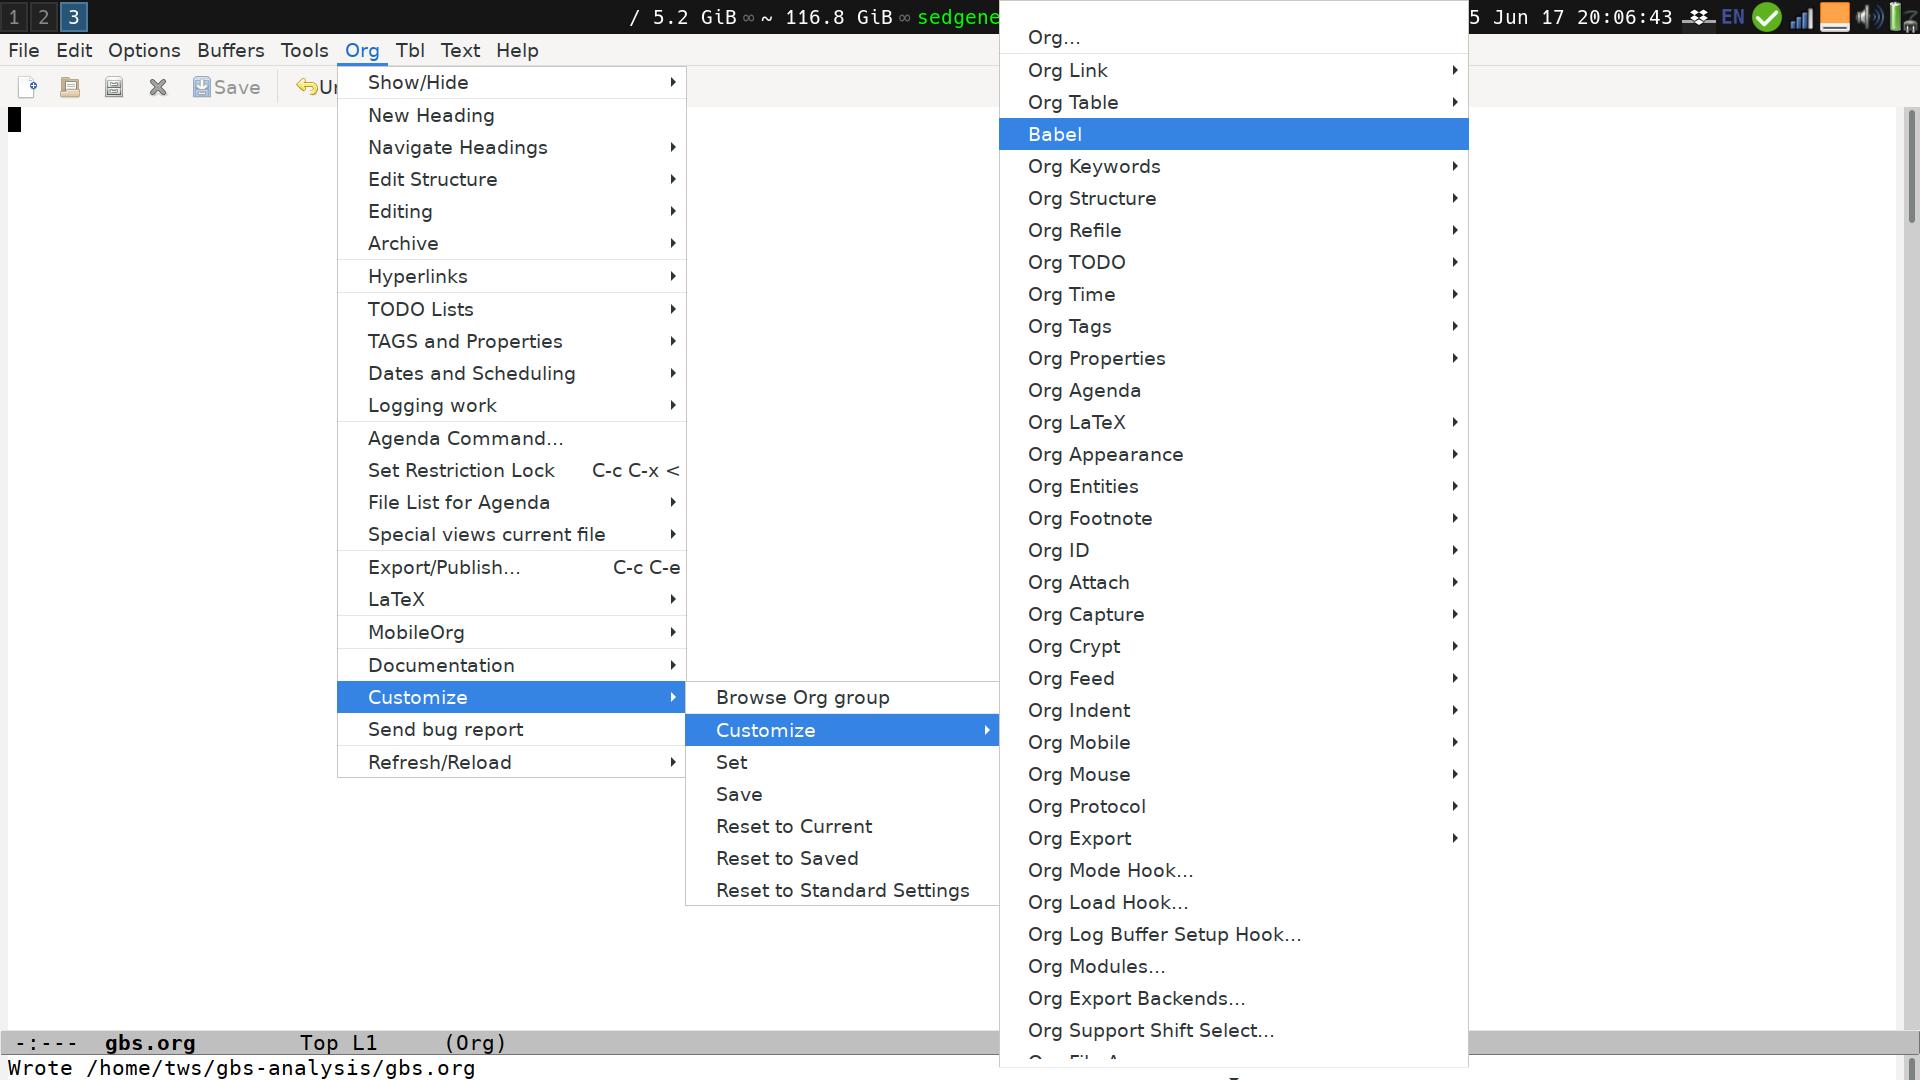
This opens up the Babel customize window:
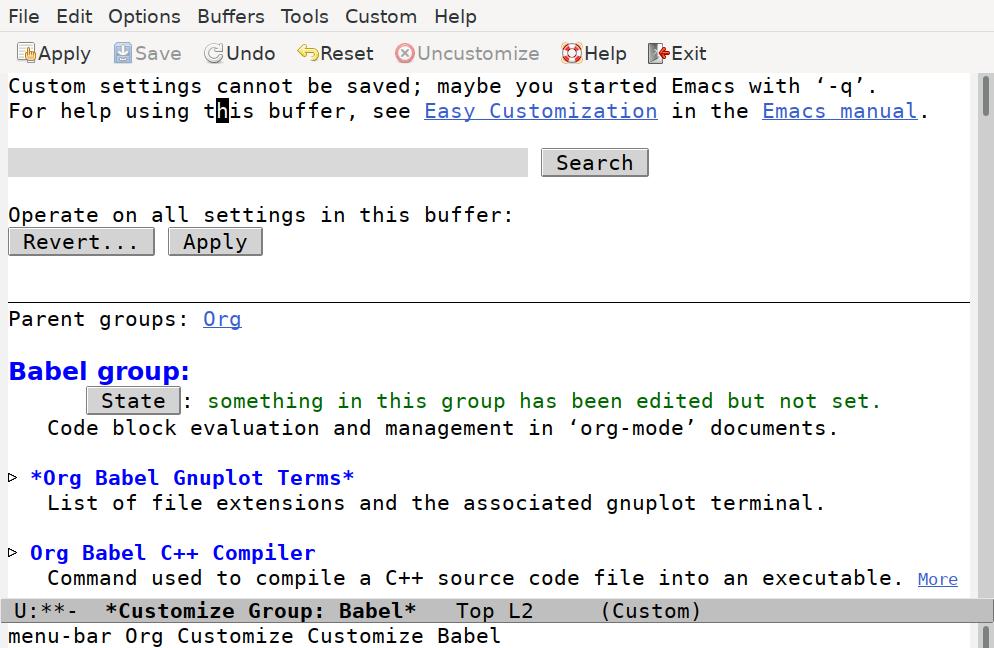
Scroll down until you find the Org Babel Load Languages option. Click on the triangle to reveal the current settings:
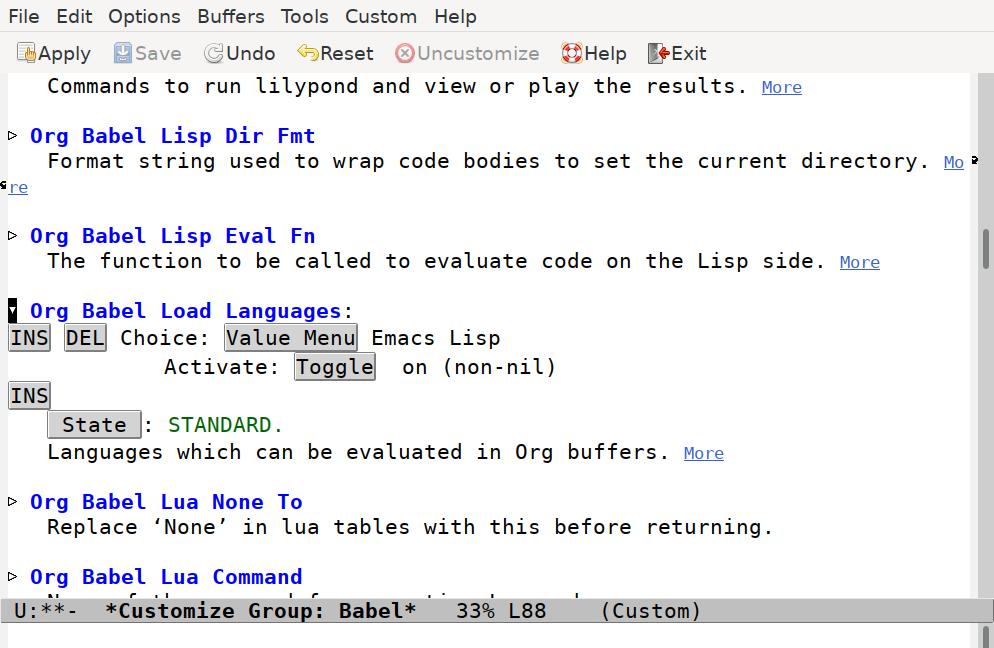
To begin with, there’s only one entry, for Emacs Lisp. Press the INS button to insert a new option. The Value Menu will show “Awk”, which we need to change. Click on the “Value Menu” button, and enter “Shell Script” and press enter.
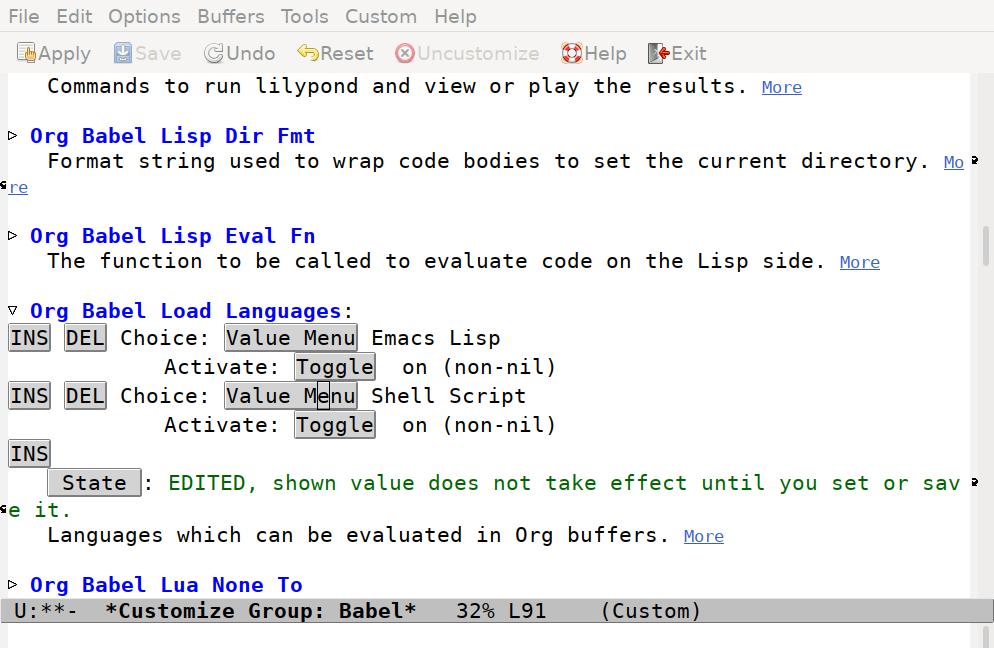
Now press the “Save” button in the tool bar to set all options, and press the q key to close the window.
Writing our Script
We can now enter whatever we like in the file: introductory notes, comments about the code we will create, and the code itself. This is just a plain text file, so there is no restriction.
However, if we use special tags, we can insert “code blocks” that we can run directly in this file. A shell code block looks like this:
#+begin_src bash
ls
#+end_src
With the cursor anywhere in this code block, we can run the code by pressing C-c C-c. Note that Emacs will ask us to confirm we want to run the code, and then it runs it:
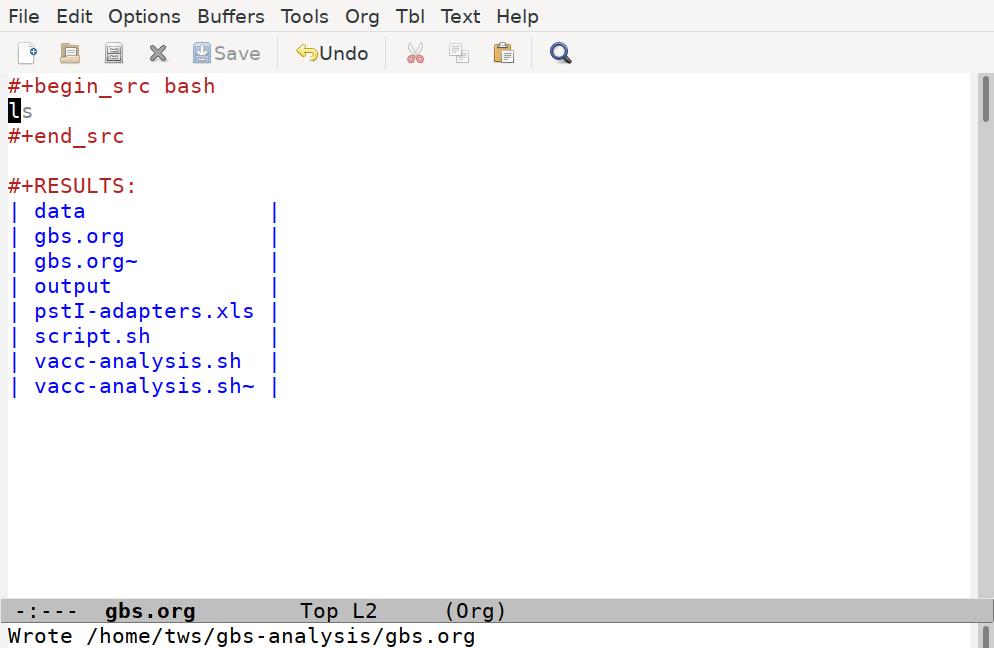
Emacs has taken our ls command, run it through a shell interpreter, and inserted the results back in our file. Again, the file is still just plain text, so we can add any comments we like, although it’s best to keep our comments out of the code blocks, and not put anything between the code block and the results it generates:
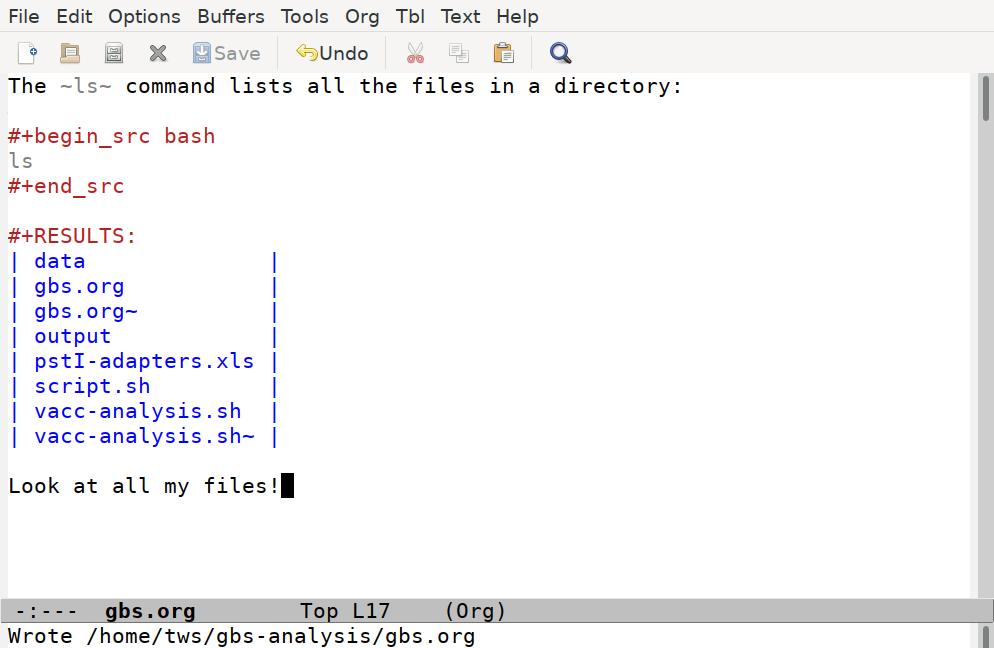
It’s often handy to have basic commands like ls included in your scripts, to confirm the files you think you are working with are in fact where you want them to be.
I use code blocks to build templates for my analyses, along with useful
notes and sanity checks. The following template includes two ‘checks’ before and after the command process_radtags:
Examine the contents of our sequencing files:
#+begin_src bash
zcat data/Vaccinium3-*.fastq.gz | head -4
#+end_src

Demultiplex: expect this to take about 10 minutes:
#+begin_src bash
process_radtags -p ./data/ -b ./data/barcodes.csv \
                -i gzfastq -o ./output -q -r \
                --inline-null -e pstI
#+end_src

Demultiplexed sequencing reads:
#+begin_src bash
zcat output/samp-001.fq.gz | head -4
#+end_src
Note that the process_radtags command is longer than a single line. Put a single \ symbol as the very last character on a line to make sure the computer treats it as a single line.
I can step through this sequence, pressing C-c C-c on each block, to work through the analysis. My notes remind me that I’ll have time to get a cup of tea while I wait for process_radtags to finish.
After I run the code, my file looks like this:
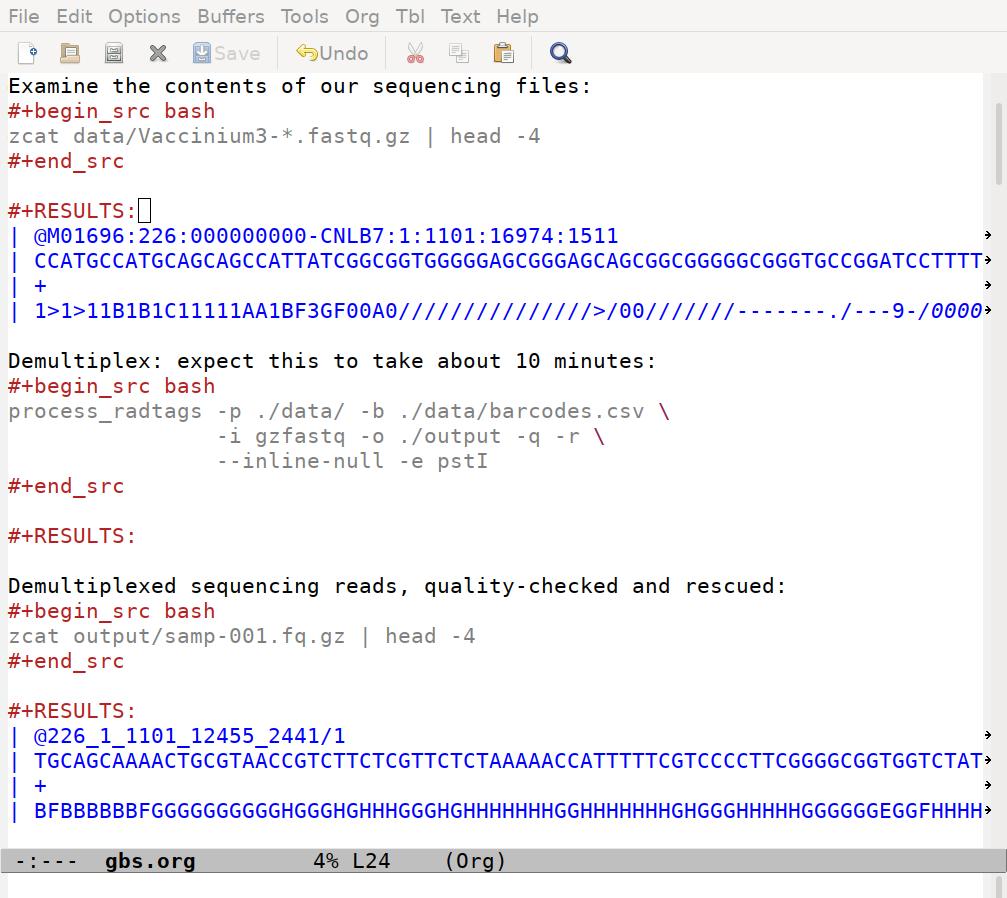
Note that the results for the process_radtags chunk are empty. That’s good, that means process_radtags completed without issuing any warnings or errors. The files it produced are saved on my hard-drive, and I confirm that by peaking inside one of them in the third chunk.
This is still a simple example, but I hope that now you can start to see some of the potential for using orgmode to structure your analysis.
Conveniences
If you do think you’d like to use orgmode in your analyses, you might think entering all those #+BEGIN tags will get tedious. That’s true. There are keyboard shortcuts to help though. On older versions of orgmode, up to version 9.1, you can enter the following shortcut. Starting at the beginning of a line, type
<sand then press the TAB key. The <s characters will be replaced by:
#+begin_src
#+end_src
You can then add the bash keyword at the end of the first line, and start your code between the two lines.
If that doesn’t work, your orgmode is probably one of the newer releases. Starting with orgmode version 9.2, instead of the above, you can press C-c C-, (i.e, control-c, control-comma), then select s for source code, and you’ll get the begin and end tags you need.
One other shortcut: you’ll probably get tired of Emacs asking you if you really want to execute code each time you run a code chunk. You can turn off that check in the customize menu: “Org - Customize - Customize - Babel”, scroll down to find “Org Confirm Babel Evaluate”, click the toggle button to “off”, and click the “Save” button on the menu. You’ll never be asked again, so be careful!